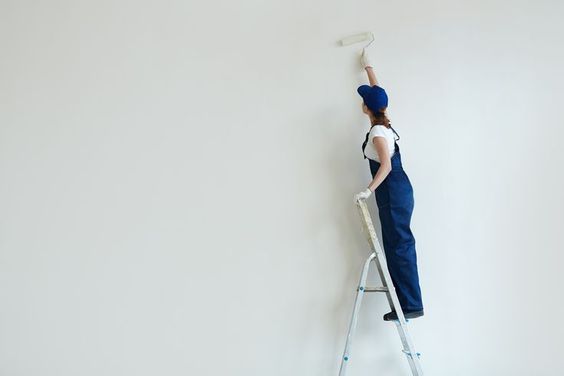
Thinking of giving your room a fresh coat of paint? Before you dip that brush into the vibrant hue of your choice, make sure you’ve covered these essential steps to ensure a flawless and long-lasting finish.
1. Surface Preparation
The first rule of successful painting is proper preparation. Clean the walls thoroughly to remove dirt, grease, and any existing loose paint. Patch up any holes or cracks and sand the surface for a smooth finish.
2. Choose the Right Paint and Tools
Selecting the appropriate paint type for your project is crucial. Consider the room’s purpose, lighting, and your personal style. Additionally, gather high-quality brushes, rollers, painter’s tape, and drop cloths to achieve a professional result.
3. Protect Your Furniture and Floors
Before you start painting, move furniture away from the walls and cover it with plastic sheets. Use drop cloths to protect your floors. This precautionary measure ensures that accidental spills or splatters won’t leave lasting damage.
4. Use Primer Wisely
Priming is often the step that gets skipped, but it can make a significant difference. Apply a suitable primer to create a smooth, even surface for the paint to adhere to. This step is especially crucial for new walls or surfaces with stains.
5. Painter’s Tape for Precision
Achieving clean lines between walls and trim requires patience and precision. Use painter’s tape to mask off areas you want to protect from paint. This step ensures a professional-looking finish without the need for meticulous handiwork.
6. Ventilate the Room
Proper ventilation is vital during and after painting. Open windows and doors to allow fresh air to circulate. This not only speeds up the drying process but also helps disperse any fumes from the paint, creating a healthier indoor environment.
Conclusion
By taking these six essential steps before painting, you’re setting the stage for a successful and visually appealing home improvement project. Whether you’re a seasoned DIY enthusiast or a novice painter, these pre-painting measures are key to achieving a professional finish.
For more home improvement tips and inspiration, visit home motivated.